Configuring Client Invoicing
Choose when clients pay, set invoice terms and emails, add sales tax, and select payment processors.
Written By David Dayan
Configuring Client Invoicing
Go to Settings → Invoicing to choose when clients pay, set invoice terms, control invoice emails, add a default tax rate, and select payment processors.
Choose when clients pay
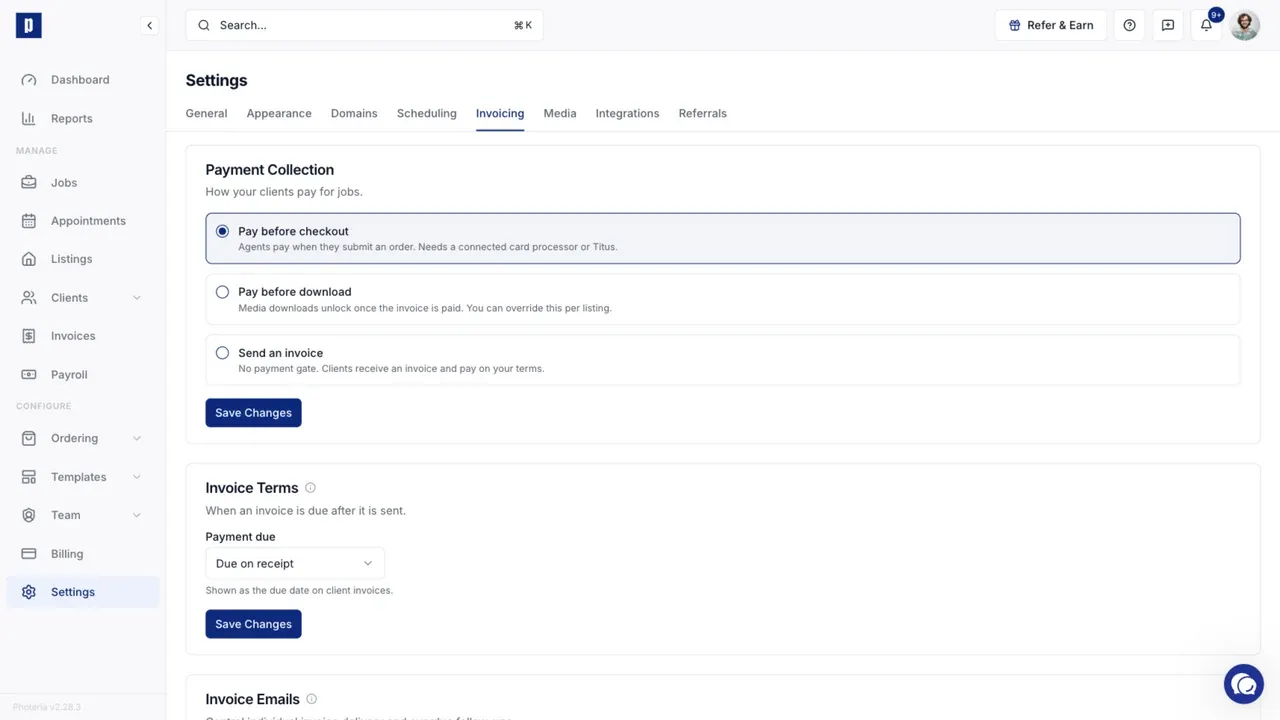
Under Payment Collection, select the workflow that matches your business:
- Pay before checkout collects payment when the agent submits an order. This requires a connected card processor or Titus.
- Pay before download creates the invoice with the job and keeps media downloads locked until the invoice is paid. You can override this for an individual listing.
- Send an invoice lets the client order without a payment gate and pay according to your invoice terms.
Select Save Changes after choosing an option.
Set invoice terms
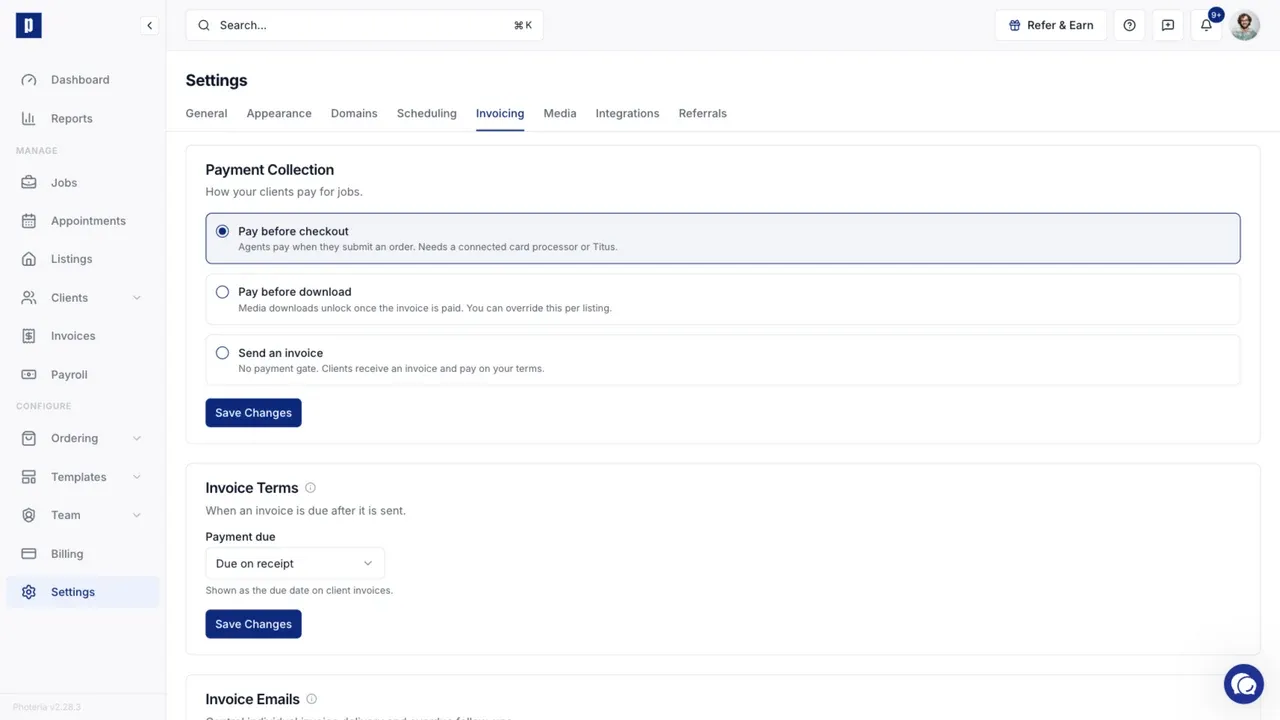
Under Invoice Terms, choose Due on receipt, Net 7, Net 15, or Net 30. The selected term determines the due date shown on new client invoices.
Control invoice emails
Under Invoice Emails, choose when individual invoices are sent:
- When the job is delivered
- Immediately when the invoice is created
- In a weekly summary on the selected weekday
- In a monthly summary on the selected day
- Manually only
Weekly and monthly summaries group every open invoice for each agent into one email. They are sent at 9:00 AM in your organization's timezone.
Turn on Overdue reminders to send follow-ups after an invoice becomes overdue. Set how many days to wait between reminders and the maximum number to send.
Set a default tax rate
Enter the percentage under Sales Tax, then save your changes. The default applies to new invoices. Existing invoices keep their current tax rate.
Select payment processors
Under Payment Processors, choose the connected processor used for card payments. Pay at close is a separate option and requires a connected Titus account.
Manage Stripe and Titus connections under Settings → Integrations.